
Pitas are great because they can be used for so many different things: they can be eaten plain, turned into pita chips, sandwiches, pizzas, etc. I love eating them right out of the oven while they're still warm and soft! The original recipe is from Tammy's Recipes, but I've altered it a bit, so here is my version:
Pitas
1 cup warm water (110-115 degrees)
1 Tbsp oil (I used olive oil, but vegetable oil would work just fine)
1 tsp salt
2 tsp sugar
1 cup whole wheat flour
2 cups all purpose flour (if you don't have whole wheat flour, use 3 cups all purpose flour)
1 1/2 tsp yeast
Combine water, oil, salt, and sugar in a large bowl. Add yeast and 2 cups of flour, 1 cup at a time. Turn the dough out onto a well-floured surface and knead it, gradually adding the last cup of flour until the dough is no longer sticky.

If you've never kneaded dough before, it's actually pretty simple. You take the ball of dough, fold it over itself in half towards you, then push it away from you with the palms of your hands. Turn the dough a quarter turn and repeat. If I just completely confused you, here's a short video demonstrating how to knead dough:
Once the dough is smooth and no longer sticky, put it in a large bowl. Oil the top of the dough and cover the bowl with a cloth. Let rise until doubled, about 1 hour.


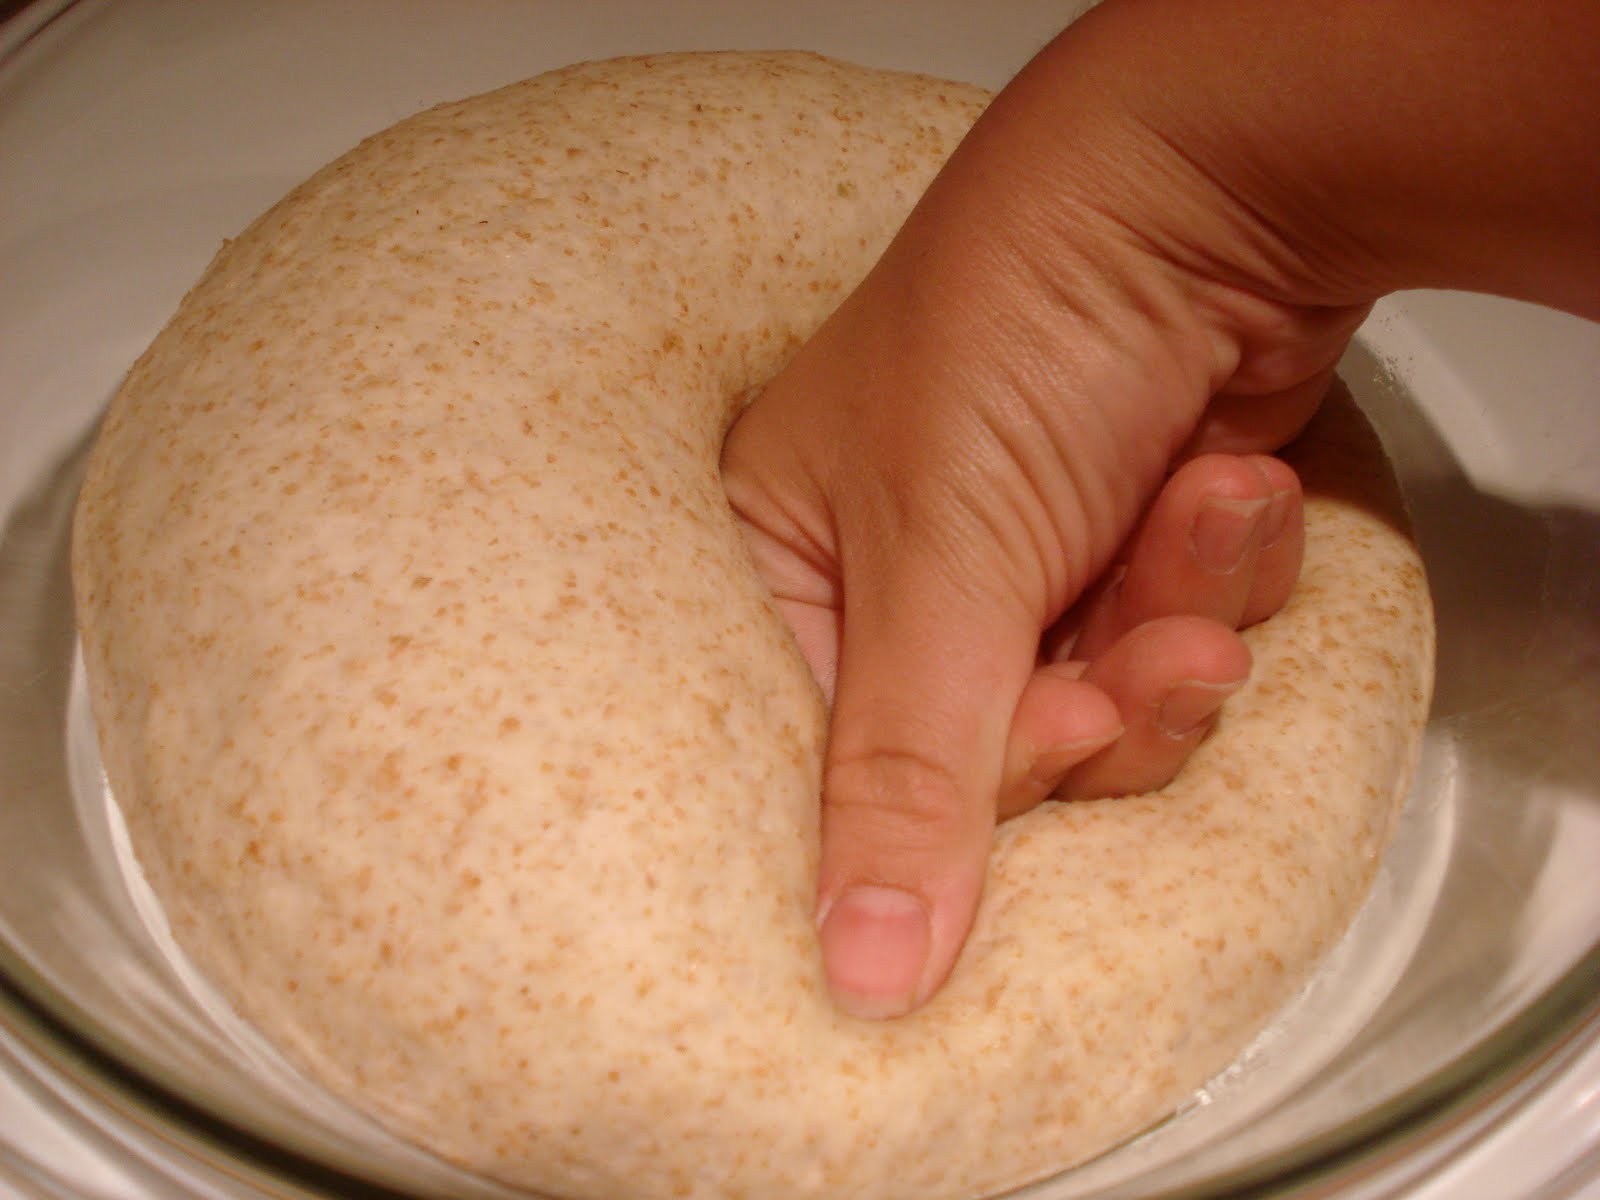
Once the dough has risen, punch it down to remove the air (I always feel like I'm undoing that hour the dough just spent rising!).
Roll it into a ball and cut the dough into 8 equal parts. Form each part into a ball.


With a rolling pin, roll each ball into a 6 to 7 inch circle on a floured surface. *Handy tip for rolling out dough: roll the dough in all directions in order to keep the circle shape. Also, make sure to flip the dough frequently in order to prevent it from sticking to the surface on which you're rolling it.
 | ||||||
| I press it down with my hand before rolling it out. |

Loosely cover the rounds with a cloth. Let rise for 30 minutes. They will look slightly puffy, but will still be thin.
 |
| Before |
 |
| After |


Bake for 4 to 5 minutes, or until they are slightly browned. Remove from the oven and wrap in moist cloths or paper towels to cool.
 | ||
| They will puff up like a pillow in the oven. |

Not only is homemade bread a money saver, but it is also very delicious! No store-bought bread even comes close to fresh bread, warm out of your oven!

5 comments:
When do you add the yeast and the 3rd cup of flour?
This is great! I never thought to make my own pitas. I make pizza dough and hamburger buns regularly, but never pitas. I can't wait to try this over the weekend! Thanks!!
Oops...I added the yeast instructions. Thanks, Anna! :) The third cup of flour is added during kneading.
My girls wanted to watch the "movie" over and over and over again : )
fantastic idea!
Post a Comment